Keep your vehicle ICONIC - Care Instructions for PPF, Tint, Ceramic Coatings
HOW TO CARE FOR YOUR PROTECTION

The ICON Automotive Vehicle Care Guide
How to Care for Your Paint Protection Film, Window Tint & Ceramic Coating
Your vehicle has been professionally protected by ICON Automotive. Proper care will help keep your Paint Protection Film (PPF), window tint, ceramic coating, and vehicle looking their best for years to come.
The good news: taking care of your protected vehicle doesn't need to be complicated.
This guide covers the important first days after installation, long-term maintenance, and our recommended process for safely washing your vehicle.
Paint Protection Film Care
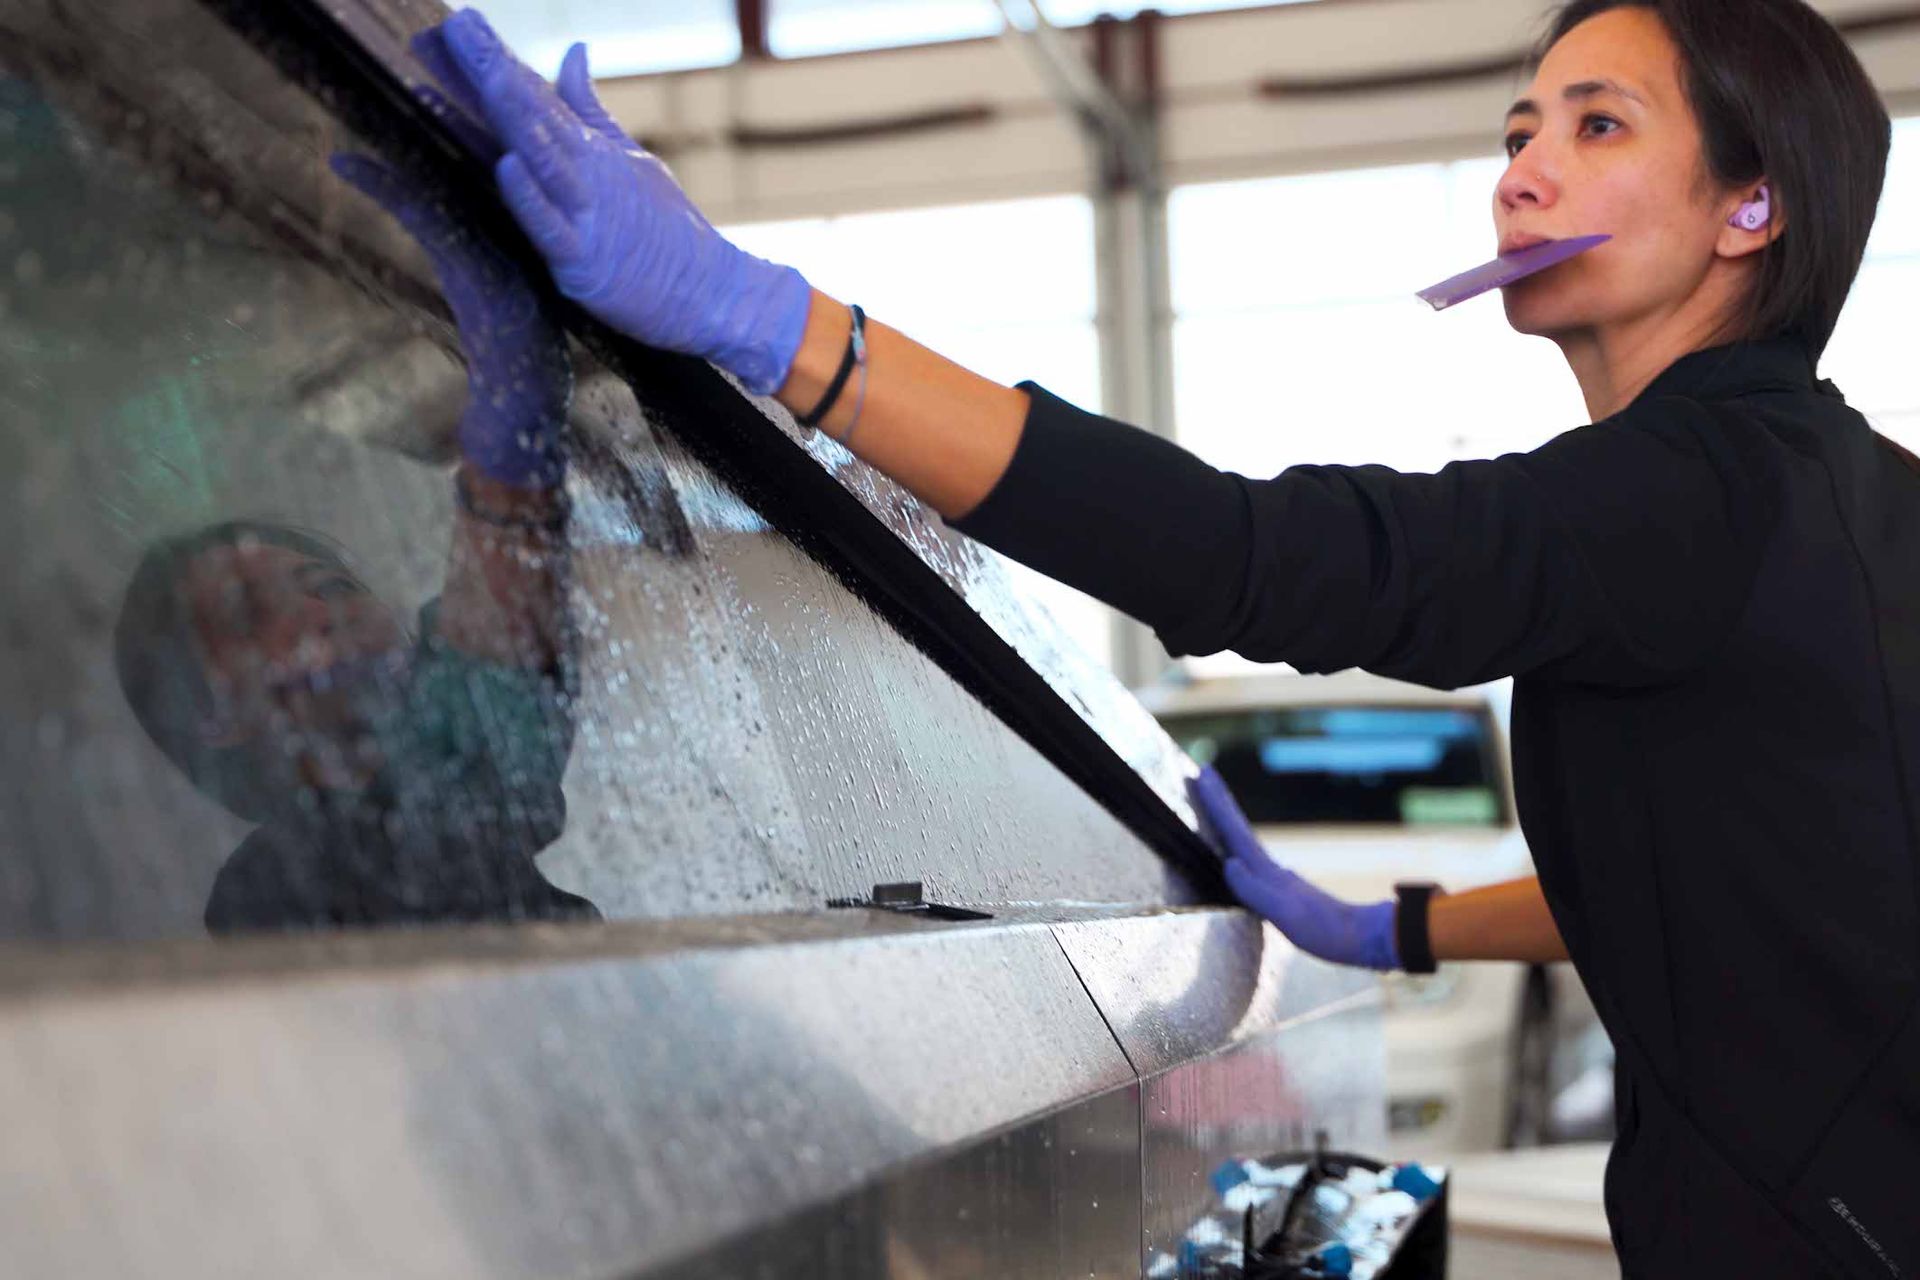
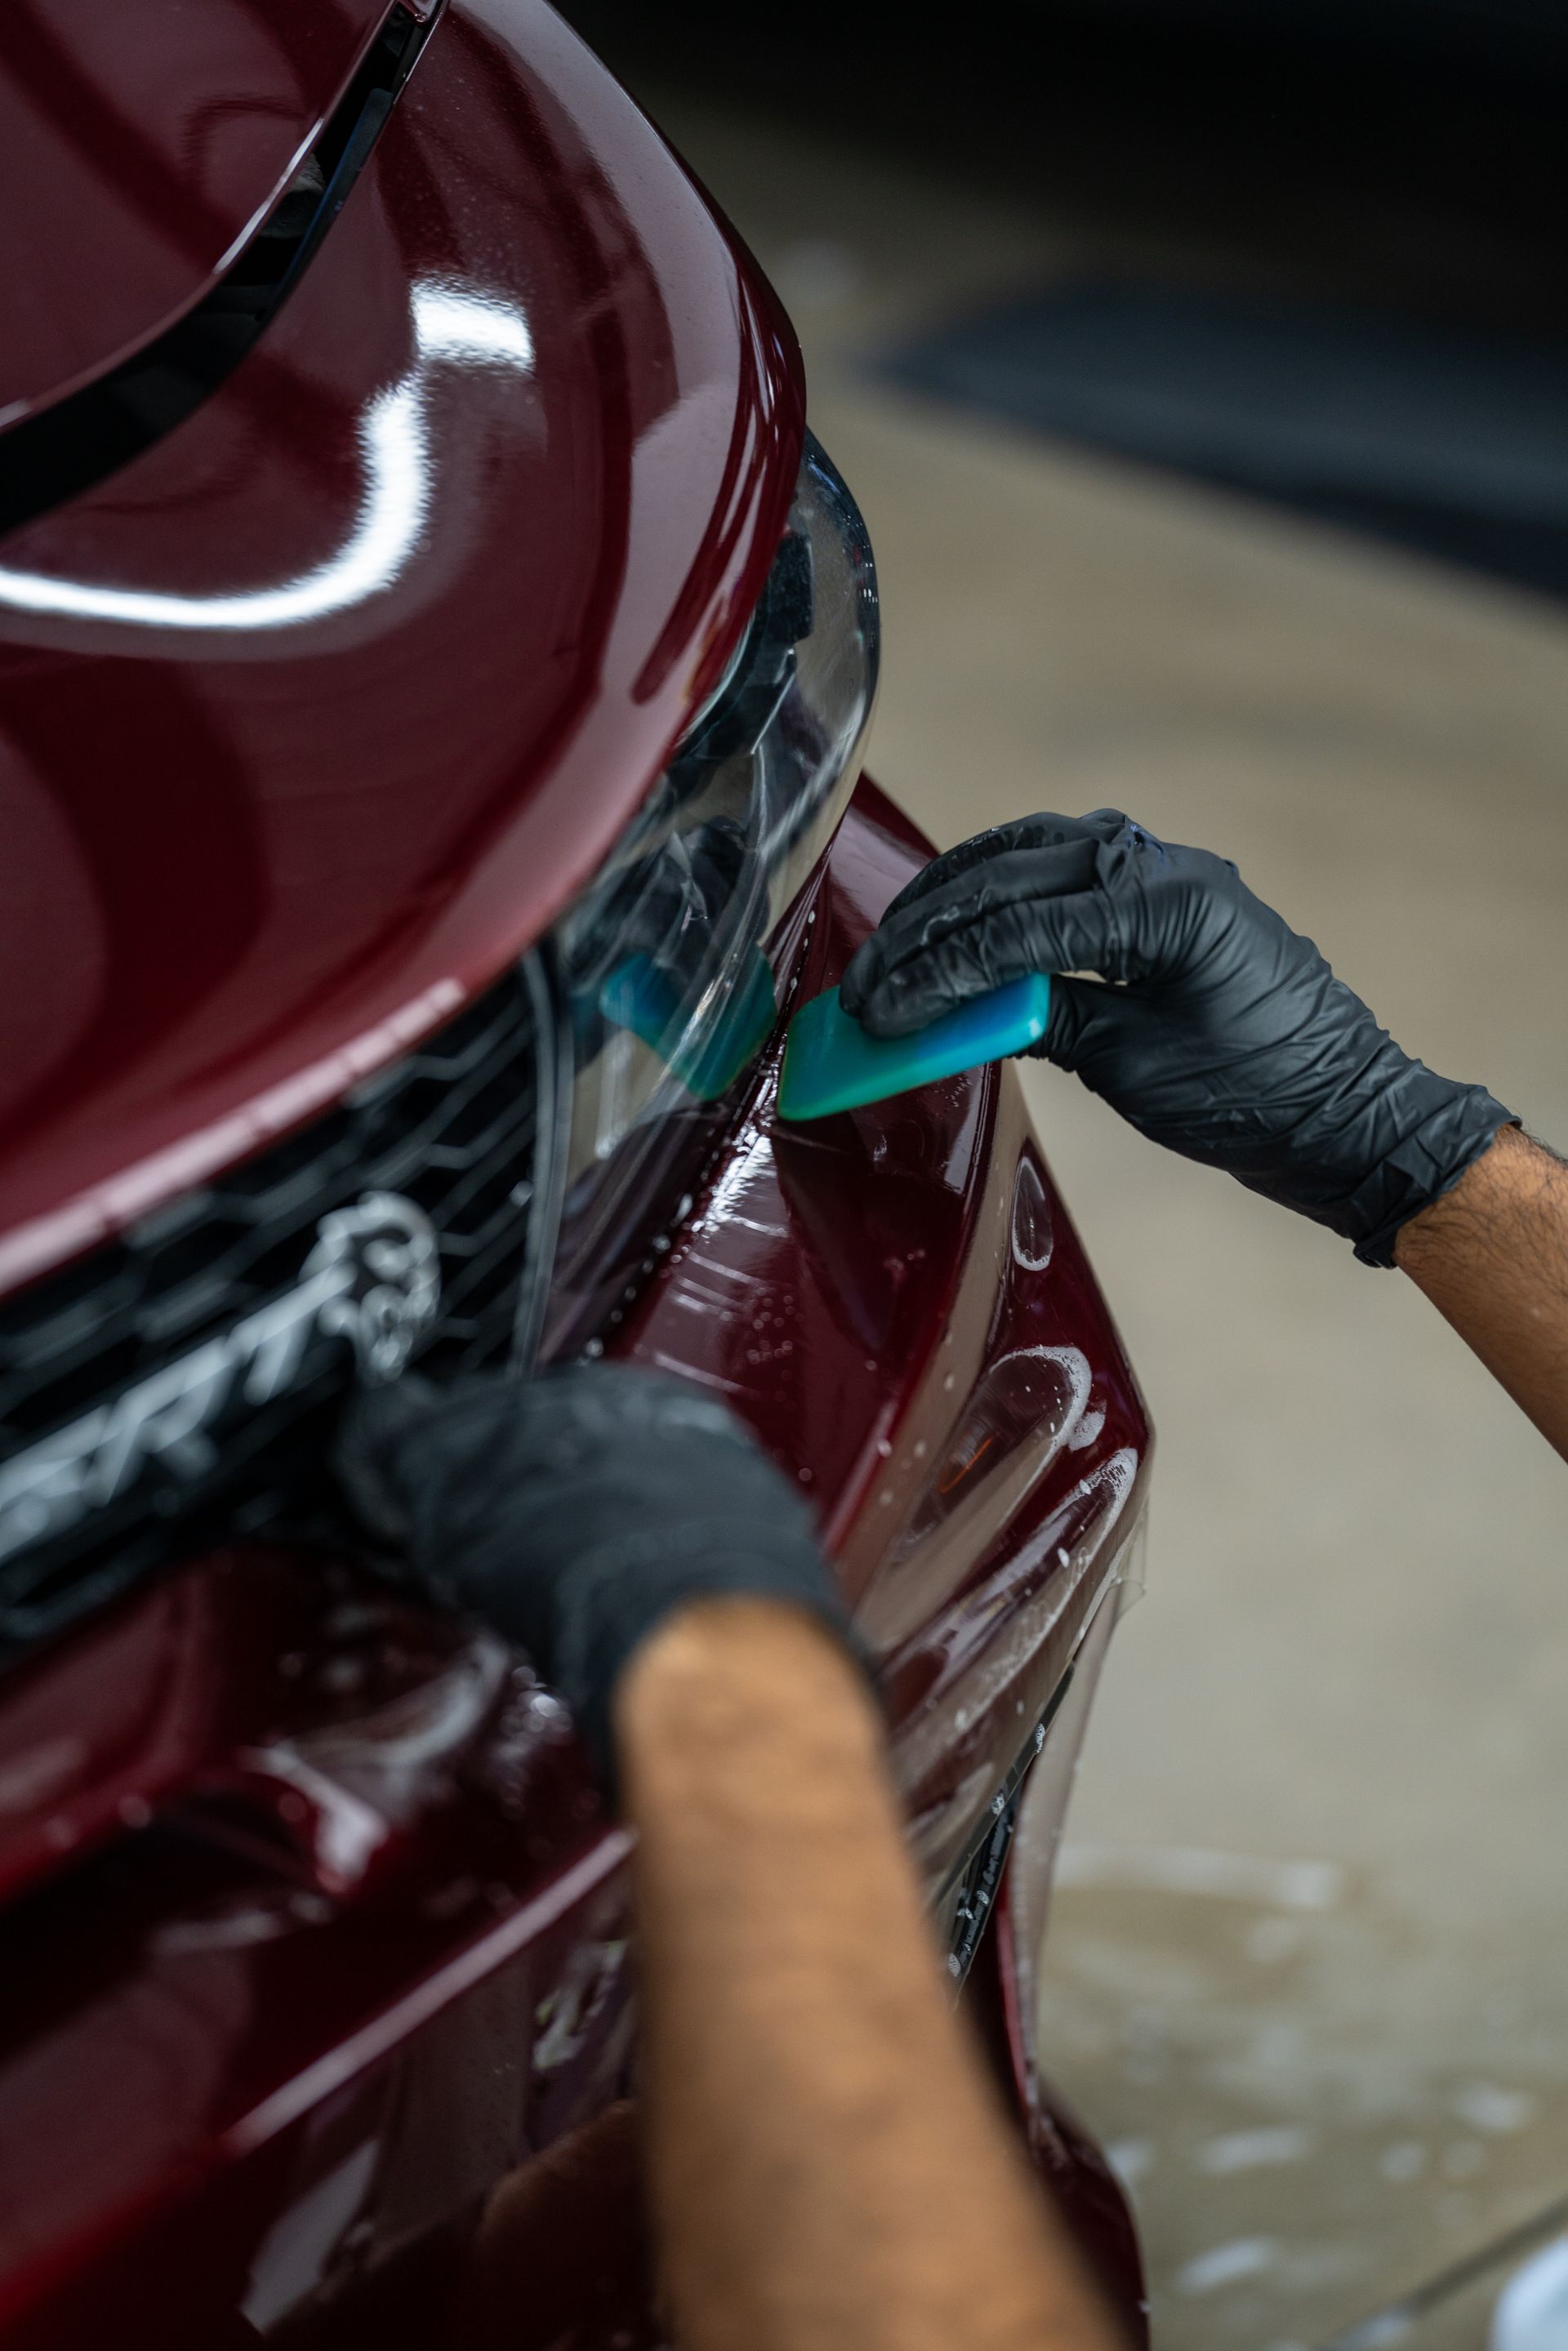
Paint Protection Film is designed to take the abuse that would otherwise reach your vehicle's paint. A few simple care practices will help keep the film clear, clean, and performing properly.
The First Two Weeks
Do not wash your vehicle for 14 days after installation.
PPF continues to cure and settle after installation. During this period, you may notice small pockets of moisture, slight haziness, or other temporary installation characteristics. These typically disappear naturally as the film cures.
We also recommend occasionally inspecting the vehicle during the first couple of weeks.
As PPF cures, it can contract slightly. In rare cases—particularly around highly curved or complex body panels—the tension of the film can cause a small edge or corner to lift.
If you notice an edge beginning to lift, don't press, cut, pull, or attempt to repair it yourself. Simply contact your ICON service advisor. Most minor curing-related issues can be addressed quickly and easily when caught early.
Washing Your PPF
Hand washing is our preferred method for vehicles protected with PPF.
Touchless automatic washes are generally acceptable, but traditional automatic washes that use spinning brushes or cloth strips should be avoided.
When using a pressure washer, never direct high-pressure water directly into a film edge or seam. High-pressure water can force its way underneath an exposed edge and cause the film to lift.
Keep the pressure washer a reasonable distance from the vehicle and spray across film edges rather than directly into them.
Products to Avoid on PPF
Avoid aggressive chemicals and products containing strong solvents, acids, or petroleum-based ingredients.
These chemicals can damage or prematurely degrade the film's protective top coat.
Be particularly careful around automotive chemicals, bug and tar removers, wheel cleaners, degreasers, and other strong cleaning products. If you're unsure whether a product is safe for PPF, ask your ICON service advisor before using it.
Ceramic Coatings & PPF
We recommend maintaining PPF with a quality ceramic detail spray or ceramic sealant rather than applying extremely high-solids, long-duration ceramic coatings over the film.
A quality ceramic detailer provides excellent hydrophobic performance, makes the film easier to clean, and can be regularly renewed without unnecessarily loading the film's top coat.
Bird Droppings & Contamination
Remove bird droppings as soon as reasonably possible.
Bird droppings can be highly acidic and can etch the top coat of PPF if allowed to remain on the surface, particularly when heated by the sun.
Do not aggressively scrub dried contamination.
Instead, saturate the area with a PPF-safe detail spray, allow it to soften, and gently remove it using a clean microfiber towel.
Window Tint Care
Professionally installed window film requires very little maintenance once fully cured.
The First 48 Hours
Do not roll your windows down for at least 48 hours following installation.
This allows the film and adhesive to properly bond to the glass.
Some temporary haziness, small water pockets, or a slightly distorted appearance can occur while newly installed tint dries. This typically resolves naturally during the curing process.
Cleaning Tinted Windows
Always clean the inside surface of tinted windows using:
- A soft, clean microfiber towel
- An ammonia-free automotive glass cleaner
Avoid household glass cleaners containing ammonia or other aggressive chemicals.
Use light pressure when cleaning.
Protecting Your Tint
Window film is durable, but it can be scratched or cut by sharp objects.
Be careful when loading items into the vehicle or placing objects near the inside surface of the glass.
Do not place stickers, decals, adhesives, or suction-mounted accessories directly onto the window film. Removing them can damage or pull the film.
Ceramic Coating Care
Ceramic coatings create a durable, hydrophobic protective layer that makes your vehicle easier to maintain and helps protect its finish from environmental contamination.
Proper maintenance is important to getting the longest possible life and best performance from your coating.
The First Seven Days
Do not wash the vehicle for 7 days following ceramic coating installation.
The vehicle can get wet during this period. Rain and normal water exposure are generally fine.
However, soaps, cleaners, detail products, and other chemicals should not be applied until the coating has fully cured.
Washing a Ceramic-Coated Vehicle
Always use a pH-neutral automotive shampoo when washing ceramic-coated surfaces.
Avoid harsh detergents, aggressive degreasers, or high-pH cleaners unless they are specifically being used as part of a professional coating maintenance process.
After washing and drying, we recommend applying a compatible ceramic detail spray. This helps maintain slickness and water behavior while adding a renewable sacrificial layer over the coating.
Bird Droppings
Bird droppings should be removed as quickly as reasonably possible.
Even a ceramic coating can be etched by acidic contamination, particularly when contamination is allowed to bake onto the surface in direct sunlight.
To safely remove it:
- Saturate the area with a ceramic-safe detail spray.
- Allow the contamination to soften.
- Gently wipe it away with a clean microfiber towel.
- Continually turn the towel to a clean side rather than dragging contamination across the paint.
Never aggressively scrub dried bird droppings from the surface.
Extending the Life of Your Ceramic Coating
Sun exposure, environmental contamination, washing methods, mileage, and vehicle storage all affect the lifespan of a ceramic coating.
To maximize performance, we recommend a professional coating maintenance and decontamination wash once or twice per year, depending on how the vehicle is used and stored.
This process uses coating-safe products designed to remove bonded contamination and mineral buildup that normal washing may leave behind.
Regular maintenance can restore hydrophobic performance and help your coating perform at its best for as long as possible.
How We Recommend Washing Your Vehicle
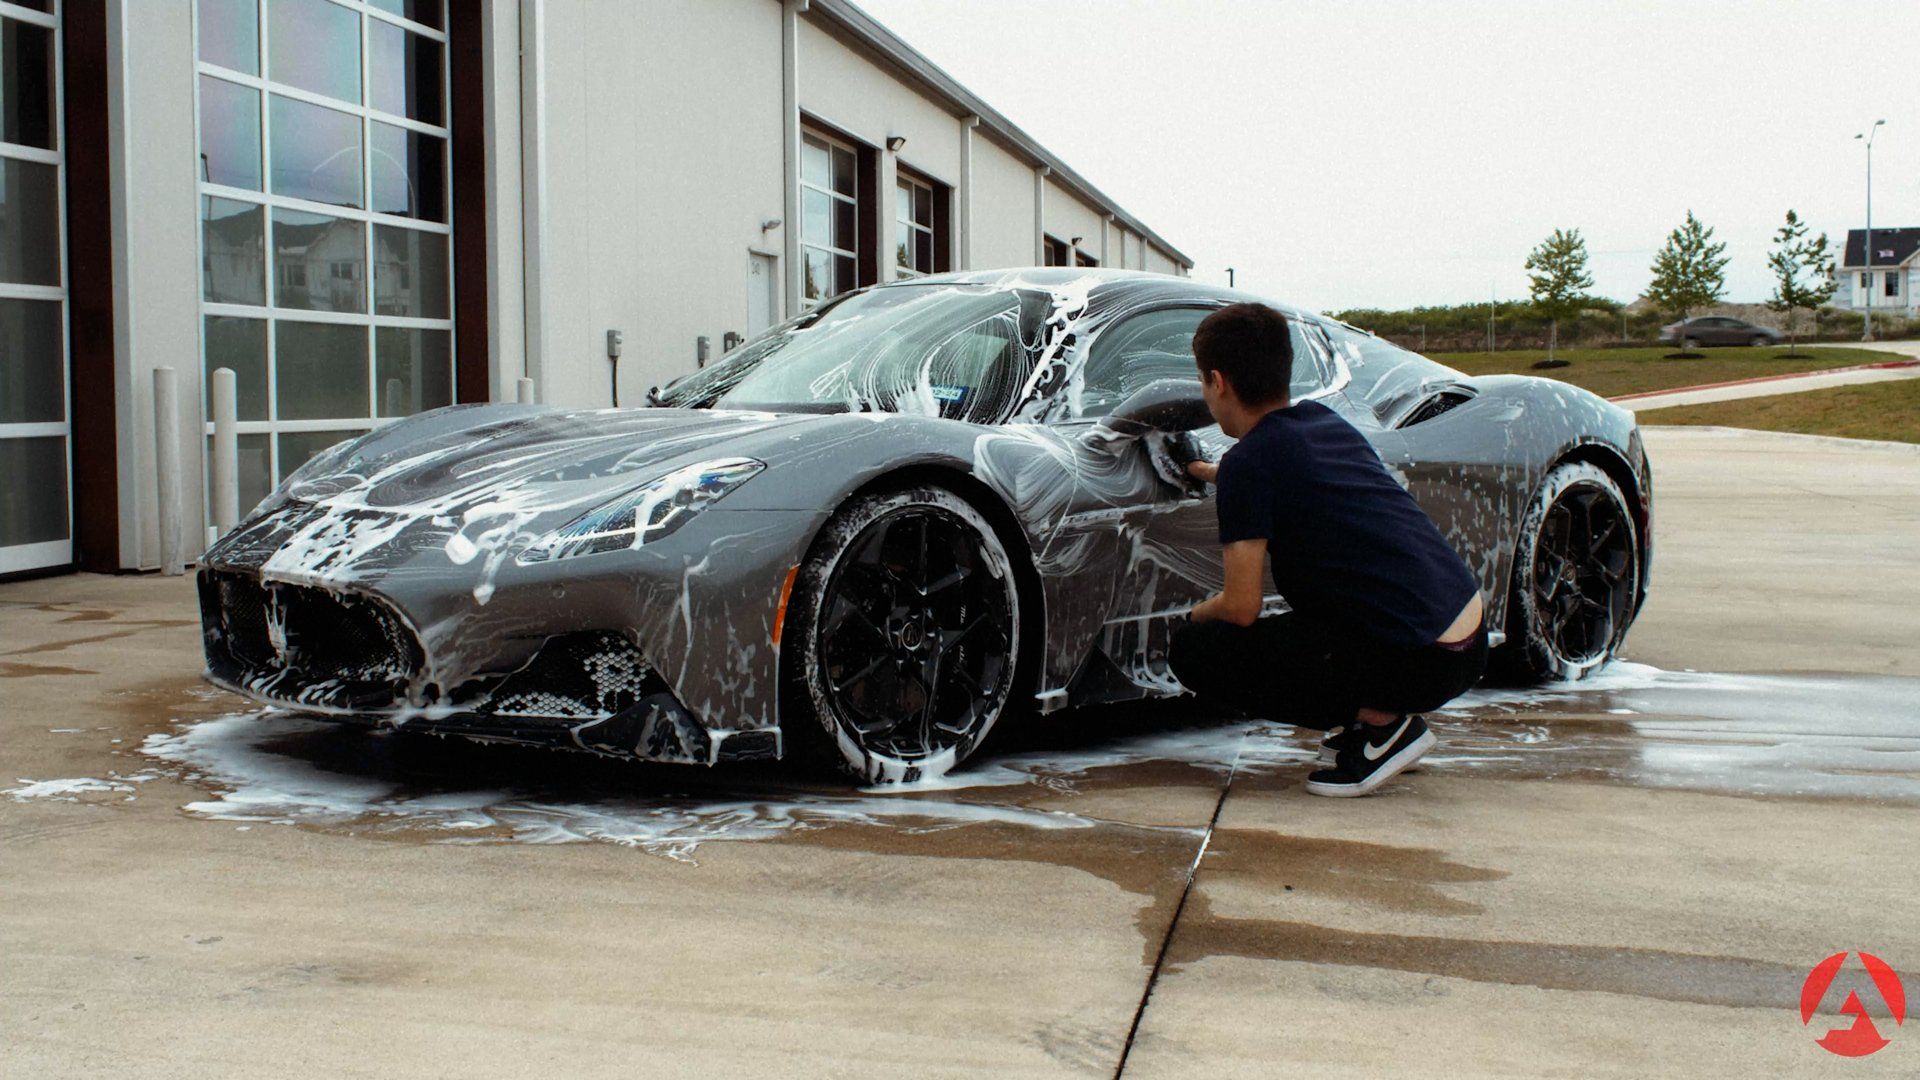
A careful hand wash is the best way to maintain a protected vehicle.
You don't need to perform every detail of this process during every wash, but this is the method we recommend when you want to thoroughly clean your vehicle.
Before You Begin
Always wash your vehicle in the shade and on a cool surface. Never wash a hot vehicle in direct sunlight.
Whenever possible, use deionized (DI) water for your final rinse. DI water dramatically reduces the minerals responsible for water spotting.
Begin by thoroughly pressure rinsing the entire vehicle. The goal is to remove as much loose dirt and debris as possible before physically touching the paint.
The less contamination you move across the surface with a wash mitt, the lower the chance of creating scratches or swirl marks.
Step 1: Wheels & Wheel Wells
We recommend cleaning the wheels before washing the body.
Start with the inner barrels of the wheels.
Apply a wheel-safe iron remover or wheel cleaner and allow it to work according to the product instructions. Use a dedicated wheel barrel brush to clean the inner barrels and around the brake calipers.
Next, clean the wheel faces using a dedicated wheel wash mitt or soft wheel brush.
Clean the wheel wells with a dedicated wheel-well brush. Felt-lined wheel wells can often be cleaned effectively using careful pressure washing rather than aggressive scrubbing.
Thoroughly rinse the wheels, tires, calipers, and wheel wells before moving to the body.
Never use your wheel brushes, towels, or wash mitts on the vehicle's paint. Keep your wheel-cleaning tools separate.
Step 2: Pre-Rinse the Body
Pressure rinse the vehicle from top to bottom.
Pay particular attention to areas that collect dirt, including the lower doors, rocker panels, bumpers, wheel arches, and rear of the vehicle.
The goal is simple: remove as much dirt as possible before touching the paint.
Step 3: Foam the Vehicle
Using a foam cannon and a quality pH-neutral automotive shampoo, cover the entire vehicle with foam.
Allow the foam to dwell briefly and loosen surface contamination, but never allow soap to dry on the vehicle.
Begin washing at the top of the vehicle and work downward using a clean, high-quality microfiber wash mitt.
Use straight, gentle passes rather than aggressive circular scrubbing.
Frequently rinse your wash mitt and keep heavily contaminated lower areas until last.
Step 4: Don't Forget the Details
For a complete wash, clean the areas that are often overlooked.
Open the hood and carefully clean the underside edges and accessible painted surfaces using a dedicated mitt, microfiber towel, or detailing brushes.
Clean the fender edges and jamb areas.
Open each door individually and clean the door jambs, hinges, painted edges, and areas behind the front fenders where accessible.
Open the trunk or hatch and clean the underside edges, jambs, drainage areas, and seals.
Use soft detailing brushes to reach tight areas rather than forcing a wash mitt into small spaces.
Step 5: Final Rinse
Rinse the vehicle thoroughly from top to bottom, allowing the water to carry soap and contamination downward.
Use your pressure washer carefully around mirrors, grilles, trim, emblems, door handles, panel gaps, and other areas where soap can become trapped.
Remember: if your vehicle has PPF, do not aim concentrated high-pressure water directly into film edges or seams.
If available, finish with a DI-water rinse.
Drying Your Vehicle
Improper drying is one of the easiest ways to create scratches and swirl marks.
Whenever possible, use a filtered automotive air dryer or blower to remove the majority of the water without touching the paint.
Pay particular attention to:
- Mirrors
- Grilles
- Wheels
- Emblems
- Door handles
- Window trim
- Panel gaps
- Door jambs
- Trunk and hatch areas
This helps prevent water from continuing to drip out after you've finished drying the vehicle.
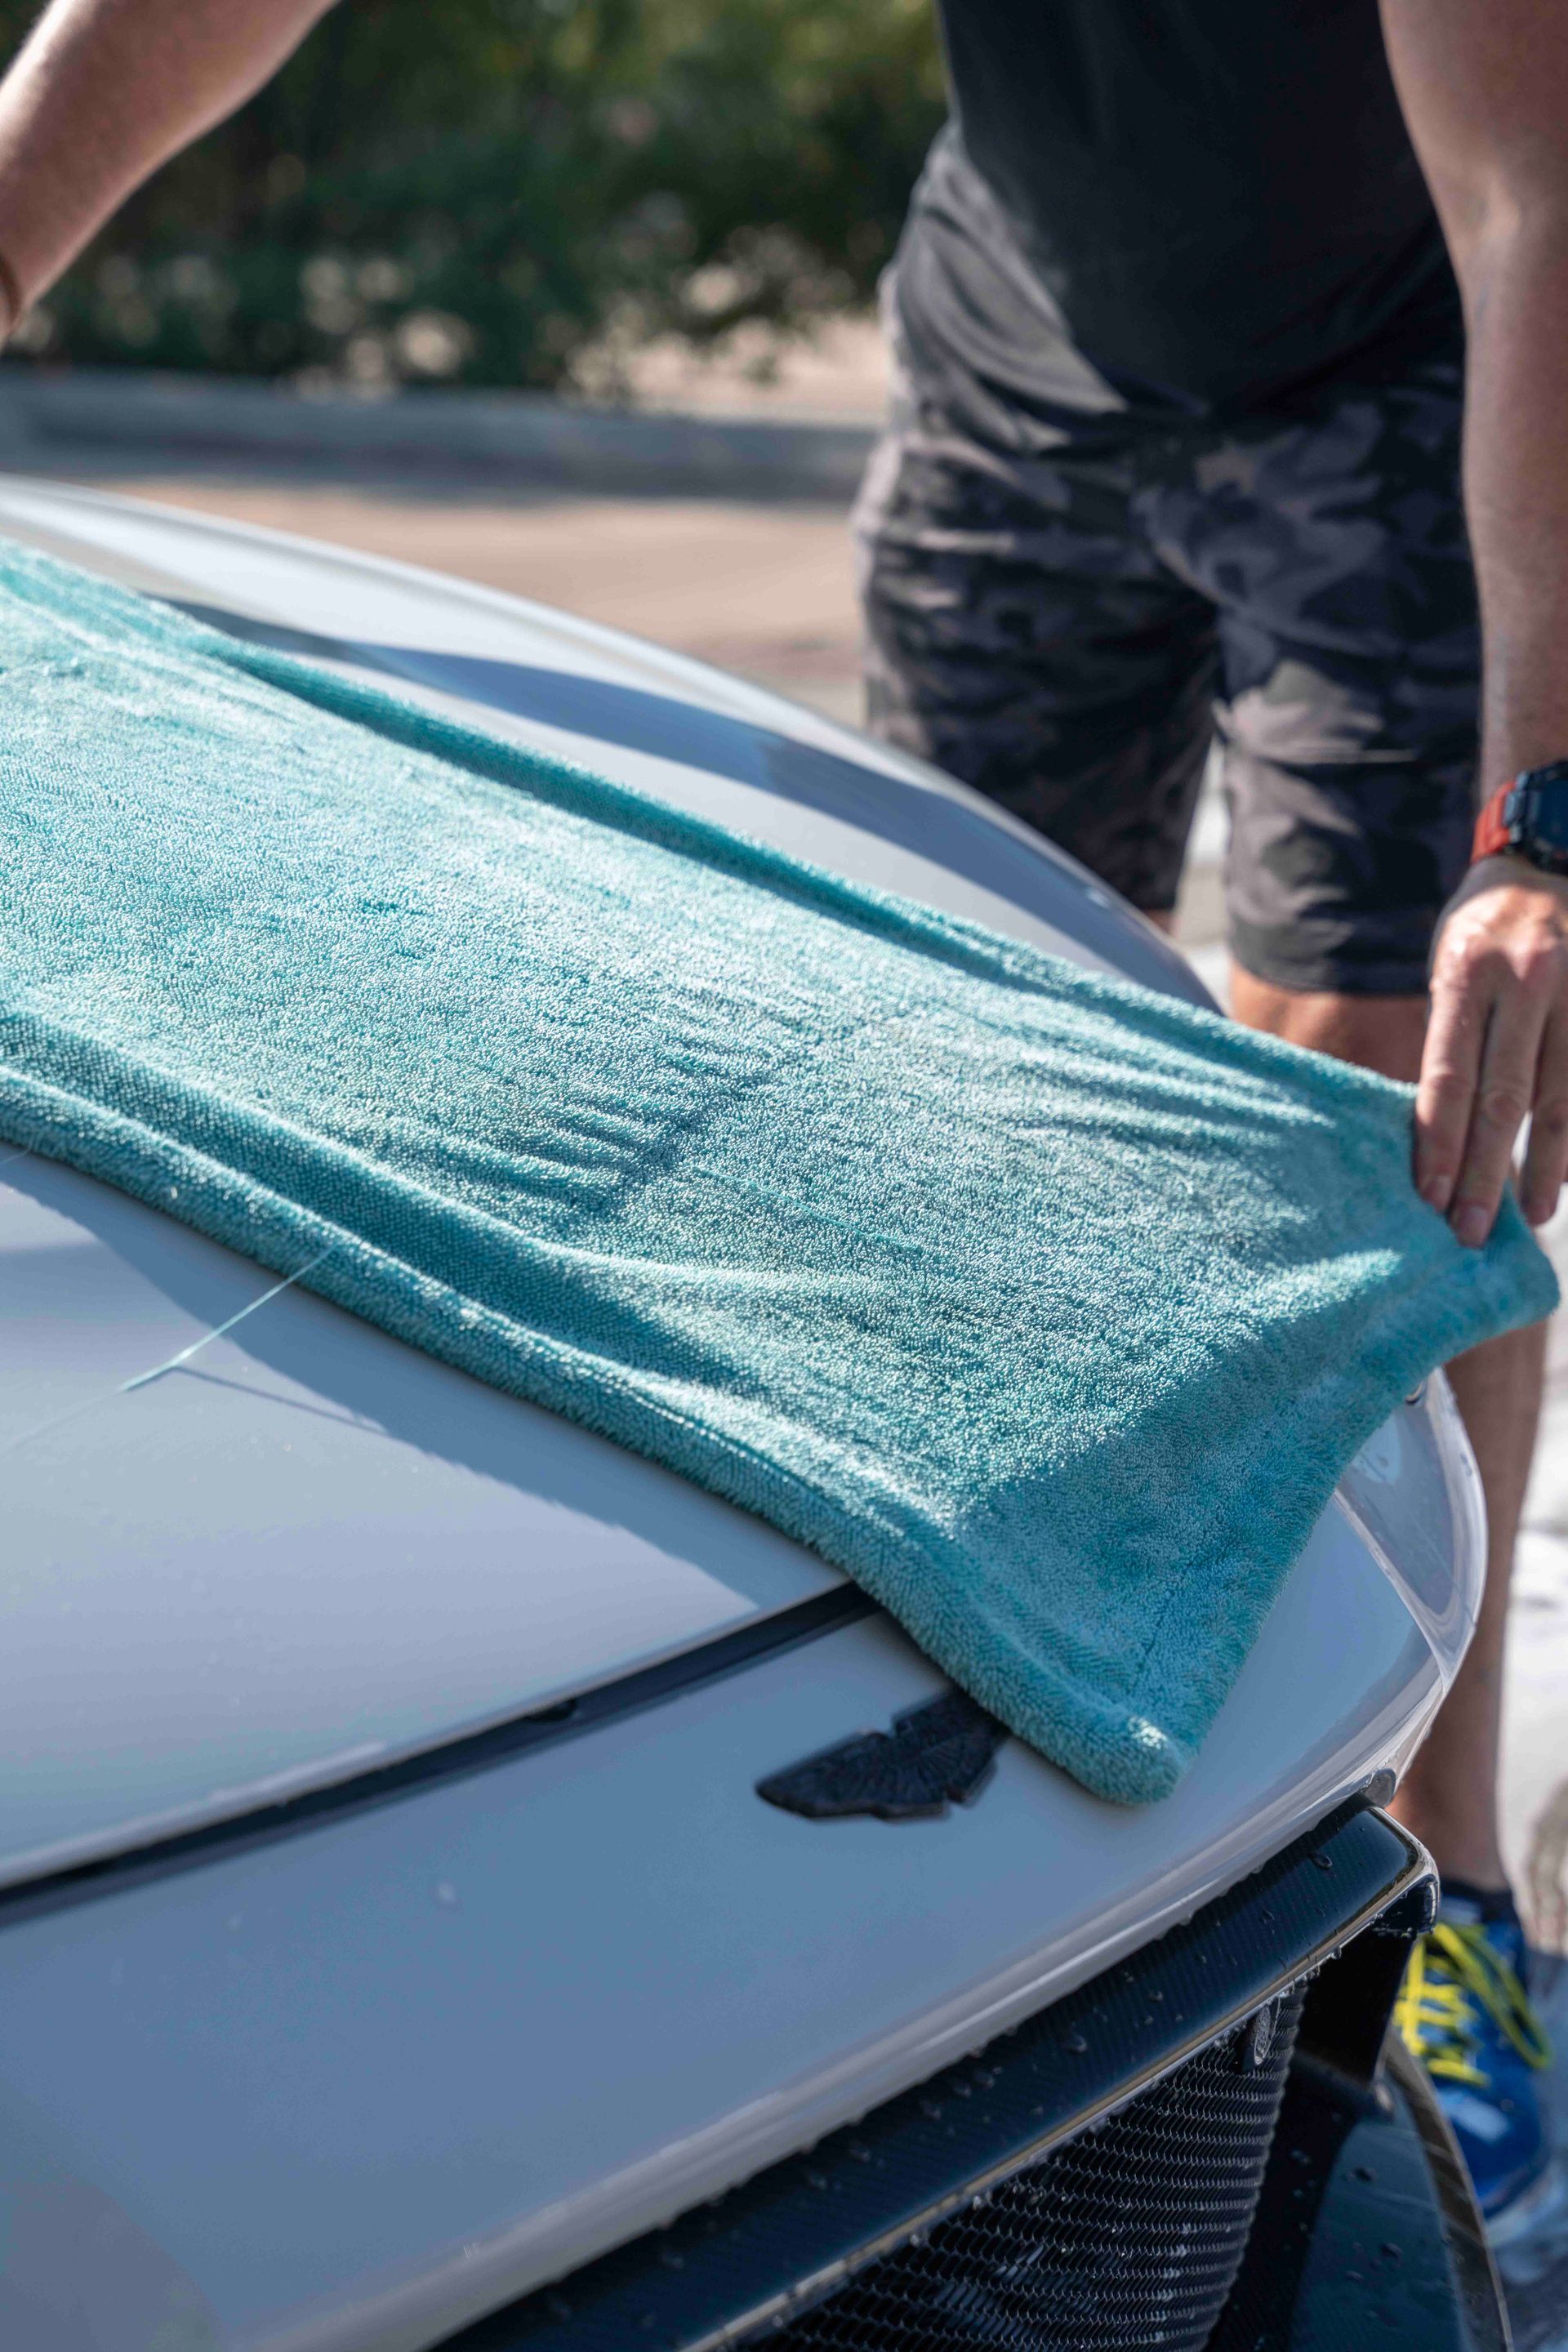
For remaining water, use a clean, high-quality twisted-loop microfiber drying towel.
Lay the towel flat against the panel and gently pull it across the surface. Avoid aggressive rubbing or applying unnecessary pressure.
The Finishing Touch
Once the vehicle is clean and dry, apply a high-quality ceramic detail spray compatible with PPF and ceramic-coated surfaces.
This simple final step helps:
- Maintain hydrophobic performance
- Reduce water spotting
- Make future washes easier
- Add slickness to the surface
- Protect the PPF or ceramic coating from everyday contamination
Think of the ceramic detailer as a renewable protective layer. Instead of asking the permanent protection underneath to take all the abuse, you're regularly refreshing the surface that sees the environment first.
Recommended Car-Care Products
You don't need a cabinet full of detailing chemicals to properly maintain your vehicle. A small collection of quality products and tools will handle the majority of routine maintenance.
Washing
pH-Neutral Automotive Shampoo
Choose a high-quality, pH-neutral shampoo without aggressive waxes, solvents, or degreasers. It should be safe for ceramic coatings and PPF.
Foam Cannon
A quality foam cannon allows you to pre-soak the vehicle and loosen dirt before physically touching the paint.
Microfiber Wash Mitts
Keep several available so you're never forced to continue washing with a heavily contaminated mitt.
Wheels
Wheel-Safe Iron Remover
Useful for dissolving embedded brake dust and iron contamination.
Wheel Barrel Brush
Designed to safely reach behind wheel spokes and clean the inner barrel.
Dedicated Wheel Mitt or Soft Brush
Keep these separate from anything that touches the vehicle's paint.
Drying
Twisted-Loop Microfiber Drying Towel
A large, high-quality twisted-loop towel absorbs significant amounts of water while requiring very little pressure against the paint.
Automotive Air Dryer/Blower
One of our favorite tools for protected vehicles because it allows you to remove water from the vehicle with minimal physical contact.
Maintenance
Ceramic Detail Spray
Our go-to product for maintaining both ceramic coatings and PPF. Use after washing to maintain slickness, hydrophobic behavior, and surface protection.
Ammonia-Free Glass Cleaner
Use on tinted windows with a clean microfiber glass towel.
Quality Microfiber Towels
Keep separate towels for paint, glass, wheels, interiors, and dirty jobs. Never use a wheel towel on painted surfaces.
A Few Simple Rules Make a Big Difference
You don't need to obsess over your vehicle to keep it looking exceptional.
Remember the basics:
Wash it cool. Wash it gently. Use quality products. Remove contamination quickly. Avoid aggressive chemicals. Minimize unnecessary contact with the paint.
Your PPF, window tint, and ceramic coating were installed to make owning and enjoying your vehicle easier—not harder.
And if you ever notice something that doesn't look right or you're unsure whether a product is safe to use, contact ICON Automotive before trying to correct it yourself.
We're always happy to take a look, answer a question, or help you determine the best way to care for your vehicle.
Need Help With Your Vehicle?
Have a question about your PPF, tint, ceramic coating, or vehicle maintenance?
Contact your ICON Automotive service advisor.
We're here to help you protect your investment and keep your vehicle looking its best.